
Tactics
Table of Contents
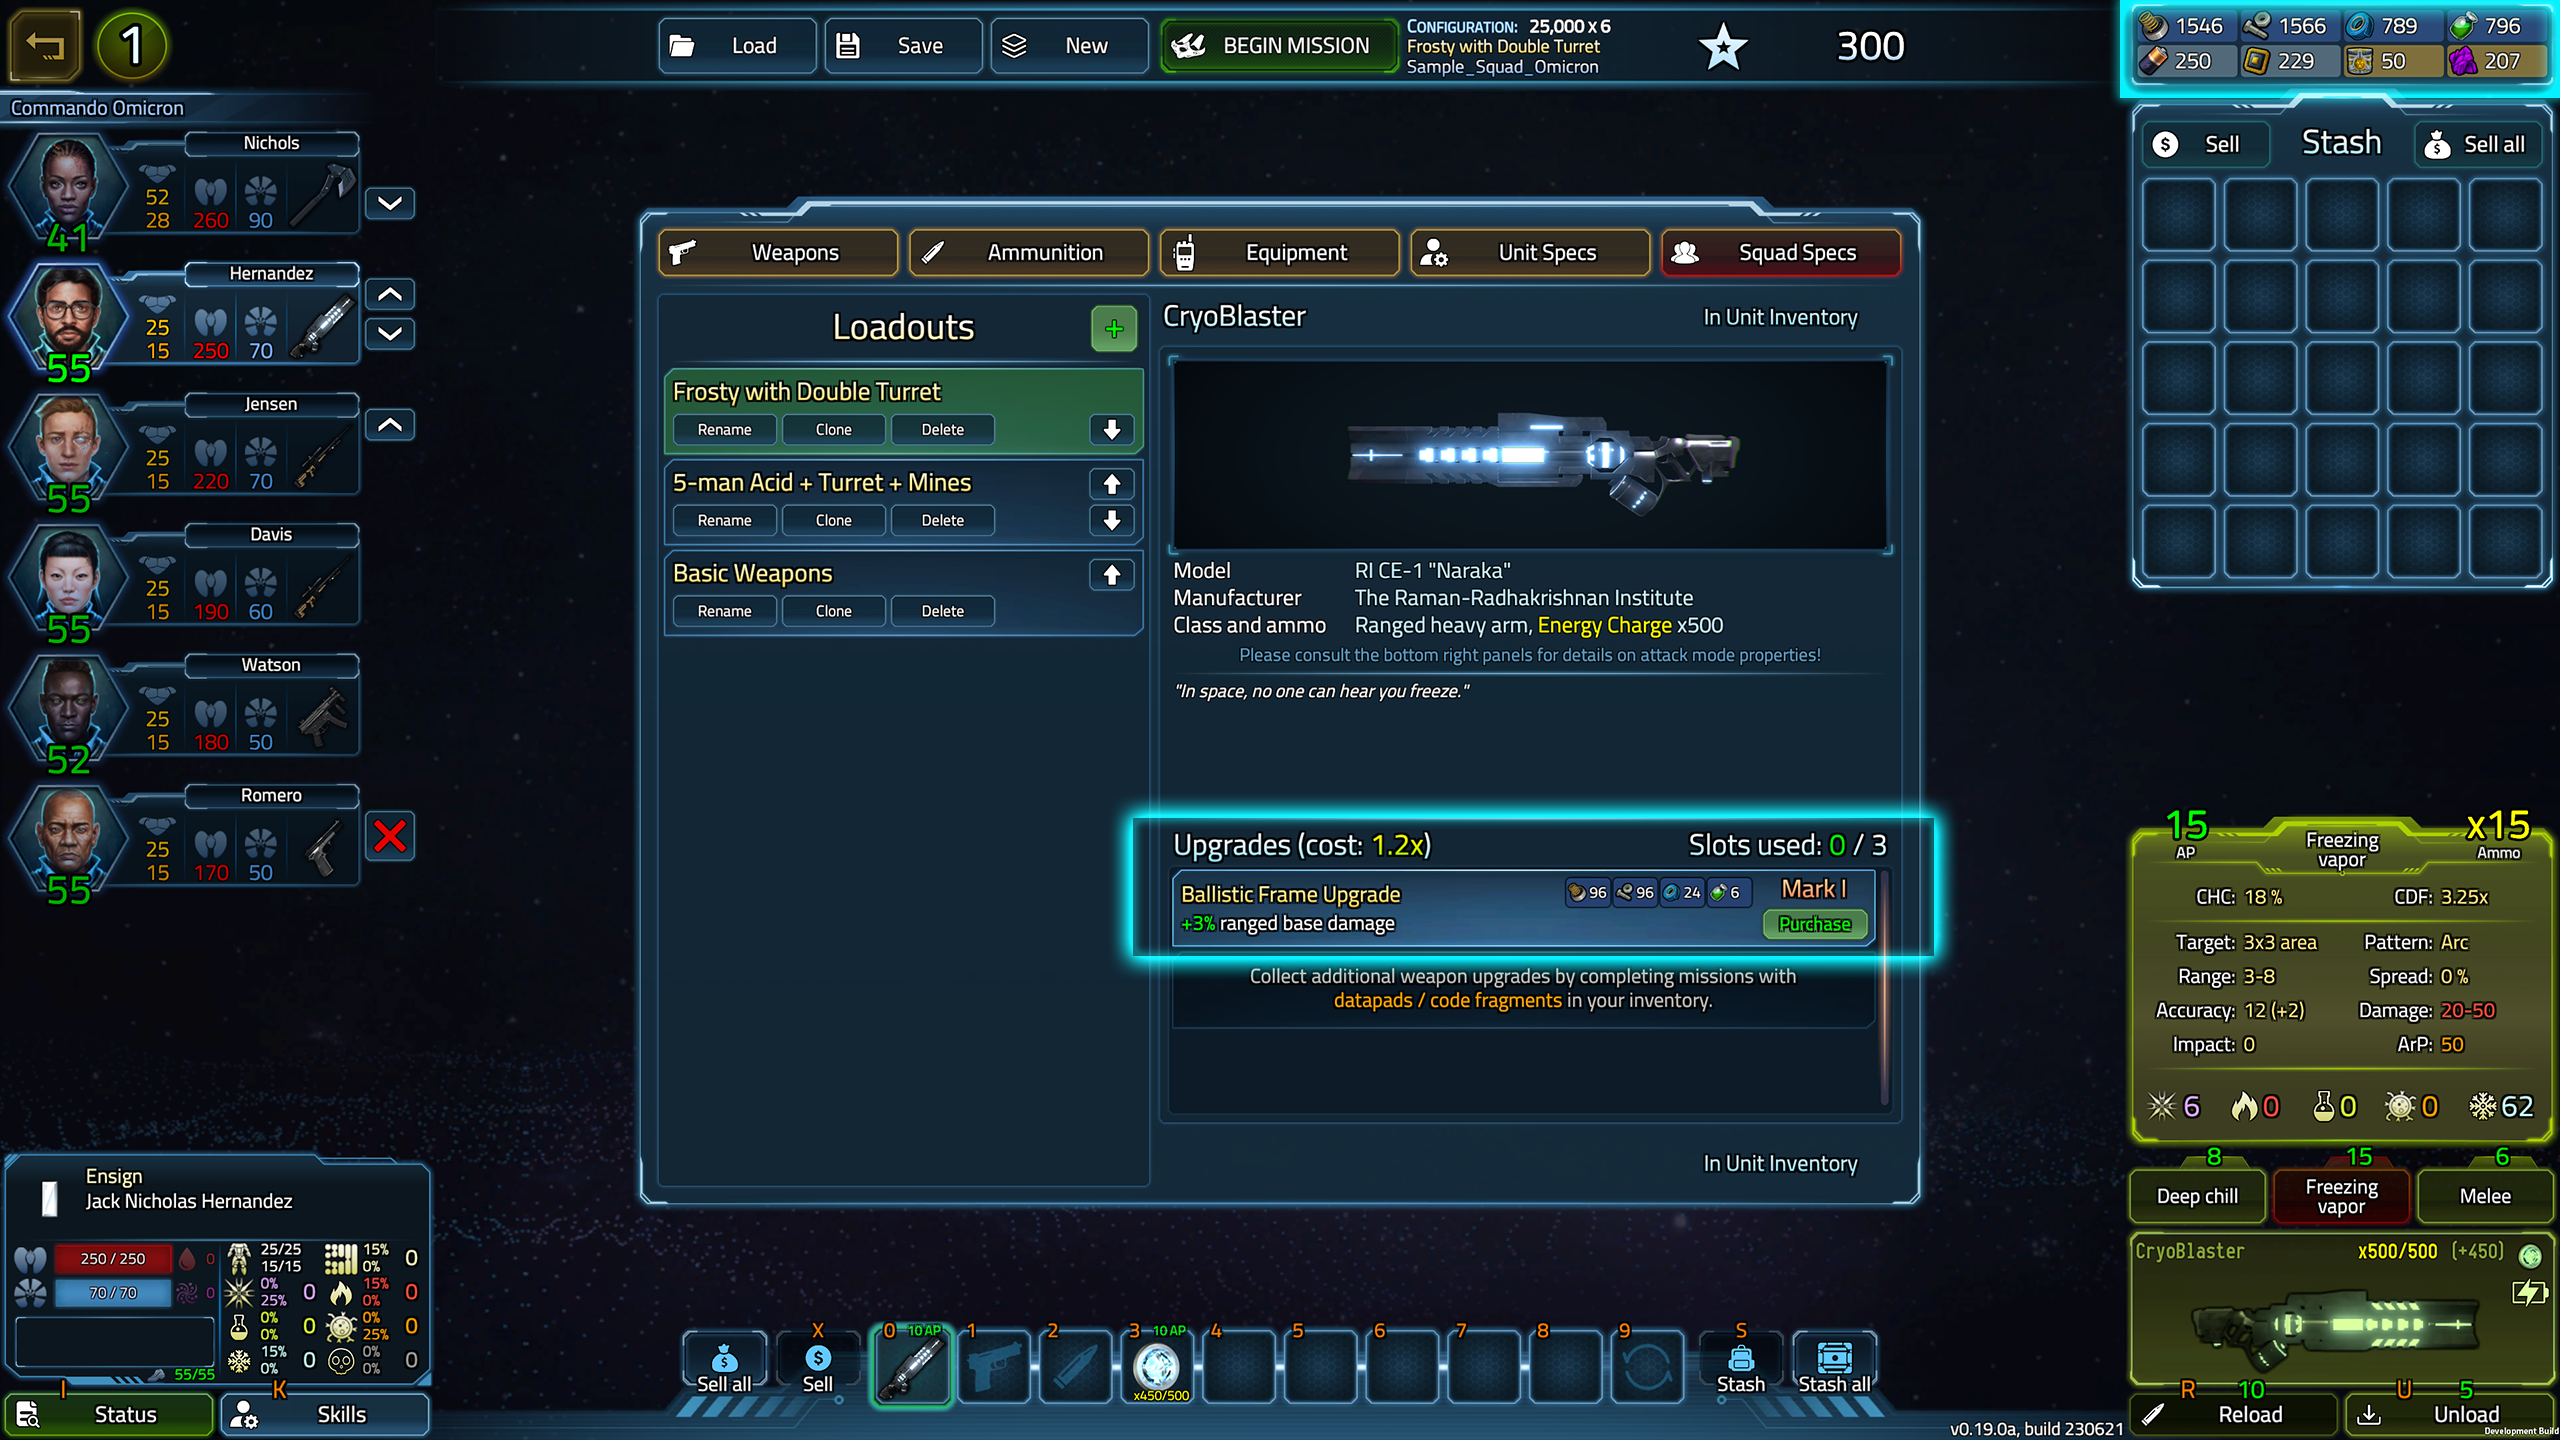
Use/Change the Attack Modes
Each attack mode across the weapons is handy, especially if you pick the one the situation requires.
Switch to Freezing vapor on your CryoBlaster if you would like to deal cryo damage in a 3×3 area, or if you would like to extinguish a fire in a 3×3 area.
You can check the weapon's attack properties as well. For example, the Pinpoint strike of the sniper rifle has a huge impact force. Using that attack mode yields a high chance of a frozen unit getting shattered. It also has a high chance to knock the target back.
When the enemy is low on health, you can use an attack mode that will consume less Action Points.
Crouching
Crouching has a good tactical use. If any of your squad members blocks the line of fire to a target, just step away or simply crouch with that unit, so your other marines can get into action.
If a corridor is narrow, the first row of marines could crouch and attack, then the other squad members behind them can also perform their ranged attacks.
Build Barricades
A lot of objects, like barrels, crates, and shelves are movable with the Pull/Push mechanics. Use them to block/avoid attacks or block enemy entry points, or to take cover (crouch) behind them. Remember that your units can jump over half-height objects.
Let the aliens blow up Hydrazine barrels. Building a wall made of objects could contain one or more highly volatile barrels. Some fearless aliens will not hesitate to destory these to reach you. You can also procure Hydrazine from the barrels if needed, so it won't blow up next to you.
Use fire to deflect the enemy or to protect yourself from those aliens who won't go across burning grids. (Wurms, Swarmers, Skitters)
Open/Close + Lock/Weld
Use the doors around you to hold back or control the movement of the enemy. If a door is heavily damaged, you can use a Field repair kit to restore its integrity, or seal the door with a Welding torch.
Another option is to use hacking devices. These can lock the door, which means you can buy some time before they break through it. If you can afford to bring or have looted Primotron Cerberus or Primotron Chimeira, you can lock & close or unlock doors from a distance. All the other hacking devices can be only used if your marine is standing right next to the door.
Use AOE Attacks
Find the sweet spots to use area of effect (AOE) damage with the following methods:
- use AOE capable weapons (like the Grenade launcher, QuadSeeker, CryoBlaster, Shotgun, Assault rifle, Nuclear hand cannon, Minigun, Sniper rifle, 7.62mm Auto-Turret)
- use grenades (Frag grenade, Incendiary grenade, Cryo grenade)
- use Smart mines
- blow up Hydrazine barrels
- shoot on Hydrazine pools and Acid pools
- kill Scorpions (all types, if not completely frozen)
Pro tip #1: Aliens will gather around your frontline units during their turn. Starting your turn, you can try to move away from these groups of aliens, so you can cause AOE damage without endangering your squad. If a marine is completely surrounded, try to kill or knockback a lesser enemy quickly to let them escape.
Pro tip #2: Don’t stand close to hazardous objects because a stray bullet can cause a chain reaction.
Use Turrets
It’s advised to manage the turrets with a marine whose Electrotechnics skill is at least 3, as the Action Point cost will be much lower, and the Turret’s effectiveness will be higher than for a non-trained unit.
Turrets are not only good at dealing damage to the enemy. You can block the enemy’s way if needed. Also, they are very good at destroying objects/walls.
Plan Your Next Moves
Planning is easy, but to actually accomplish the plan is much harder. You must consider moving even your whole squad if you’re about to get flanked or pinned down by the enemy. Your marines can bear some damage, but not for too long if the pressure is too high on them. Try to avoid to be cornered by the aliens. Still, you’re able to destroy doors, walls or other objects if it’s needed.
Pro tip: Positioning and Action Point management is the key to survival.
Attack or Defence?
On lower difficulties, being defensive does not mean any disadvantage to you. However, playing on a harder difficulty, damage output, and good squad positioning is more important than going into Defense mode with all your marines. A well-placed melee unit (who should be in Defense mode all the time when your turn ends) will hold up most of the aliens, so the rest of your squad can rearrange, heal, and do other actions–but more importantly, they can cut the numbers of the enemy.
Extracting Units
When there's no chance of survival…
There are some situations when extracting a unit would be a wise decision if the objective and the conditions permit it. You can even extract your entire squad if there’s no leg to stand on. (Naturally, the mission will be a failure in this case, but it won’t be a slaughter. This is especially important in the Campaign mode.)
Instead of Walking
Finding the shortest route can be tricky when different objects, hazards, aliens, or even friendly units block your way. Remember that you can jump over half-height objects (but not aliens and fellow units), or you can use the push/pull mechanics. Also, you can destroy objects or even the walls if they're blocking your way.
Combos
There are many types of combos. Two of the best are freezing/shattering, and acid/fire. Although, some aliens are resistant to these types of damages, but most of the time it pays off to use them.
The freezing/shattering combo:
First, you have to freeze the enemy by using weapons/ammunition types that cause freezing, like
- the CryoBlaster
- the HCB Cryo Charge (Bulleteer, QuadSeeker)
- the M50-X Grenade (Cryo Charge) + the Grenade launcher
- the Cryo grenade
Then, you’ll need a high-impact force attack to shatter the frozen unit, which you can perform with
- a Shotgun (the best way is to shoot the enemy from behind with AP ammo)
- a Sniper rifle (choose the Pinpoint strike if possible with .223 FMJ (AP) ammo)
- a Nuclear hand cannon
- mines/grenades
- blowing up Scorpions/barrels next to the frozen target
The acid/fire combo:
Easy, just light them up, then pump them with acid. All you need is to equip your marines with weapons and ammunition that cause the target to burn. Take these:
- Incendiary grenades
- 7.62mm High Explosive ammunition with a Minigun, or with an Auto-Turret
- .223 Mercury Ignition Charge with an Assault rifle, or with a Sniper rifle
- M50-X Grenade (HE) with a Grenade launcher
- HCB High Explosive with a Bulleteer or with a QuadSeeker
And then shoot them with acidic charges, which will automatically convert to fire damage, and reapply the whole burning damage stack on the spot. Take these with your marines:
- 12g shells (Acid Charge) with a Shotgun
- M50-X Grenade (Acid Charge) with a Grenade launcher
- HCB Acid Charge with a Bulleteer or with a QuadSeeker
Priority Targets
Prioritize your targets according to the actual threat they embody. Sometimes enemies far from you can cause the deadliest encounters, like Alpha Wormpigs that spit large poison blobs that damage a larger area and stack up Poision buildup on your marines.
Avoid being fully cornered. Take positions that let you flee if needed. Of course, it’s easier to defend a tight corridor, than a large room, or an open area.
The Medic
The ideal squad has a medic. This unit should have five Skill Points in the Biochemistry skill. Having the bonus of the Primary specialization means that treating a squad member with a missing Health less than 50% of the maximum item effectiveness will not consume the item. Note that a level 5 medic can heal 60% more with the same medical items compared to a non-trained marine.
Always protect your medic! Even though this unit can deal damage, it’s better to protect them because of their increased healing ability. Step a bit back if necessary, and watch out for flanking. When the situation requires, use self-healing with your other units too, because a severely injured unit may not have the time to wait for the medic to arrive at the beginning of the next turn.
Your other squad members may also give the medic additional medical items for better effectiveness. They can pass such items directly from their inventory. Try to loot medical items from shelves or crates.
Check for Lootables
Item crates and Items shelves may contain many useful items (including Weapons, Ammunition, high-tech gadgets, medical items, etc.) If the situation allows, you should try to check these out before the enemy (or you) destroy these containers.
Squad Development
As the progress is shared between all three game modes (Defend the Base!, Operations, and Single Mission), any Weapon Upgrade blueprints and Item Crafting blueprints you obtain is truly valuable for your squad. If you can complete missions on higher difficulties, you can gather more rare materials that you can use for further upgrades. For more information, please visit the Tutorial: Squad Assembly/Blueprints (for Weapon Upgrades and Item Crafting) tab.
→ Next: Defend the Base!
← Previous: Squad